
Service 01
A warmer second floor starts above the ceiling.
Latchline inspects accessible attic conditions, identifies common leakage paths, protects ventilation routes, and installs properly distributed blown-in cellulose or fibreglass where it is appropriate.
Why insulation is often not the first step.
Insulation slows heat moving through a material. It does very little about heat riding on air that is moving through a hole.
In an ordinary Toronto winter the inside of your house is warmer than the outside, and warm air is buoyant. It rises. At the top of the house it presses against the ceiling and finds every opening: the attic hatch, the gap around the plumbing stack, the open tops of interior partition walls, the seams of a bathroom fan housing, the trim around recessed fixtures. It leaves through them continuously, and outdoor air is drawn in lower down to replace it.
Laying more insulation over those openings does not close them. The air still moves; it now moves through a thicker blanket. Worse, that air carries moisture from showers, cooking and breathing, and it deposits some of that moisture on cold roof sheathing on the way past. This is why a house can get an insulation top-up in October and develop frost problems it never had before.
The sequence that works is unglamorous: look, seal what is reachable, protect the ventilation, then insulate evenly. It is also the sequence that makes the insulation actually perform the way its label suggests.
What is actually up there
Every item in this drawing was put into your ceiling deliberately, for a good reason. Together they are the reason attic work is a preparation job with an insulation step at the end.
The openings
- The attic hatch. The largest deliberate hole in your ceiling, frequently a bare sheet of plywood in a frame. It is also the cheapest thing on this list to fix properly.
- Plumbing and wiring penetrations. Every pipe and cable that passes into the attic went through a hole slightly larger than itself.
- Top plates and partition walls. Interior walls are usually open at the top. Air rises inside the wall cavity and arrives in the attic without ever crossing the ceiling.
- Recessed lights and fixtures. Older housings in particular leak at their seams, and some types cannot be covered with insulation at all.
- Bathroom fan housings. Both a leakage point and a moisture source, and the duct must terminate outdoors rather than in the attic.
- Dropped ceilings and soffited areas. Bulkheads over kitchen cabinets or stairwells are often open into the attic across their whole width.
The ventilation
A vented attic works by staying cold. Outdoor air enters low at the soffits, moves up under the roof deck, and leaves near the ridge. That airflow carries away small amounts of moisture and keeps the deck close to outdoor temperature, which is what limits ice-dam formation.
Two things routinely break it. Insulation blown or pushed into the eaves fills the gap that the soffit vent depends on. And renovations sometimes close off soffit venting entirely without replacing it.
Baffles are the fix: rigid channels installed at the eaves that hold the ventilation path open while allowing insulation to be brought right out to the exterior wall, where it is needed most. Insulating without them is how a warm attic and a wet roof deck get built at the same time.
Depth at the eaves is the trade-off point in almost every attic. It is decided on site, not on a quote.
Uneven insulation makes cold rooms, not just cold houses.
Insulation is rated by its resistance to heat flow, and that rating assumes it is installed continuously at a consistent depth. Real attics rarely look like that. Material gets walked on, pushed aside to run a cable, piled up near the hatch where it was dumped, and thinned out toward the eaves where the roof gets low.
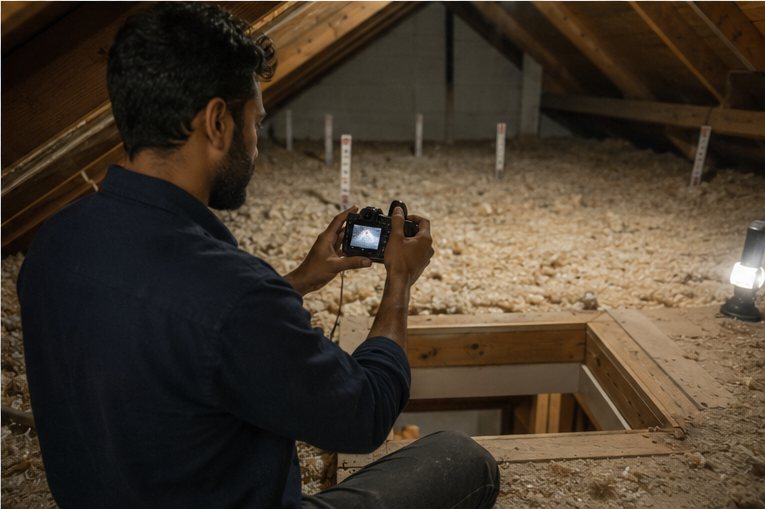
Heat takes the easiest route. A section of ceiling with half the depth of the section beside it loses disproportionately more, and the room underneath it is the room you complain about. This is why levelling and redistribution is a real line on our scope rather than a courtesy — and why we photograph coverage before and after.
A quoted R-value describes a product. What matters is the R-value you actually have across the whole ceiling, including the thin bits nobody can see.
Conditions that pause normal work.
If any of the following turns up, the insulation stage waits. This is not caution for its own sake — each one gets meaningfully worse if it is buried.
- Active moisture or a roof leak. Wet insulation does not insulate, and hiding the source delays the repair.
- Suspected vermiculite. Loose, pebble-like material that may contain asbestos. Nobody disturbs it until it has been tested.
- Damaged, overheated or knob-and-tube wiring. An electrical question, answered by an electrician, before anything covers it.
- Pest activity or contamination. Nesting material, droppings and damaged insulation are a health and remediation issue first.
- A bathroom fan discharging into the attic. A humidifier pointed at your roof deck. It gets corrected before depth goes on.
- Structural concerns. Anything that looks like it is carrying load badly gets referred, not insulated around.
In each case you receive photographs, a written note, and a recommendation for the appropriate specialist. Sometimes the right outcome of a Latchline visit is that we install nothing at all.
Cellulose or fibreglass, without the sales pitch.
Both are legitimate. Both are used by good contractors. The choice usually comes down to the specific attic rather than to a general argument about which is better.
Blown cellulose
- Made from recycled paper fibre, treated for fire and pest resistance.
- Denser, and tends to fill irregular spaces and around obstructions more completely.
- Slightly better at resisting air movement within the material itself, though it is not an air barrier.
- Heavier, which matters on some older ceiling framing.
- Settles over time; installed depth accounts for it.
- Dustier during installation.
Blown fibreglass
- Spun glass fibre, non-combustible, does not absorb water readily.
- Lighter, which can be the deciding factor on a marginal ceiling structure.
- Minimal settling once installed.
- Less dense, so it needs greater depth for equivalent resistance.
- More affected by air movement through it if the attic is poorly sealed, which is another reason sealing comes first.
- Generally cleaner to install.
If your attic has good clearance, an ordinary structure and thorough sealing underneath, either will serve you well and the difference in outcome will be small. Where the framing is marginal, where clearance is tight, or where existing material constrains the choice, we will explain which we recommend and why, on your specific ceiling.
How an attic project actually runs.
Review homeowner concerns
Which rooms, which season, how long, and what changed. A new roof, replaced windows or an HVAC change often explains more than the age of the house.
Inspect safe, accessible areas
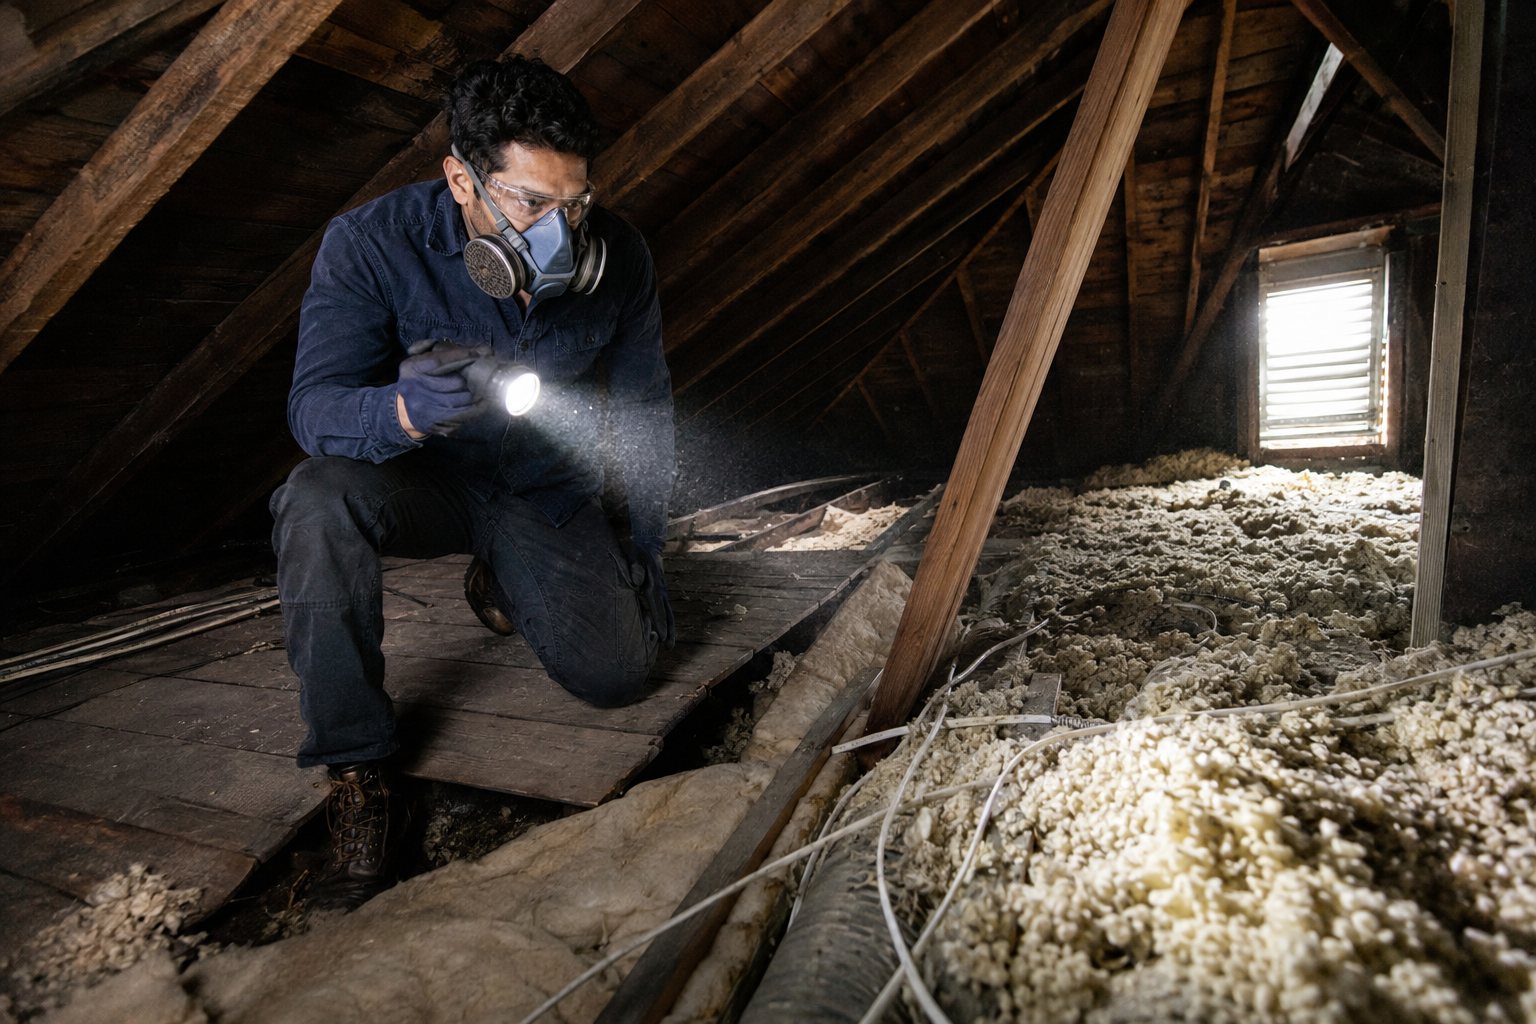
From the hatch and, where clearance allows, within the attic itself. Nobody goes anywhere that is unsafe to reach.
Document existing insulation and obstructions
Type, depth, coverage and condition, photographed. Storage, ducting, wiring and anything unexpected recorded.
Identify work that must happen first
Moisture, exhaust routing, electrical concerns, pest activity or suspect materials. This is the stage that determines whether the project proceeds at all.
Confirm air-sealing and ventilation scope
Which penetrations are reachable, whether baffles are needed, and what the hatch requires. This is written down before anything is ordered.
Protect the home and establish access
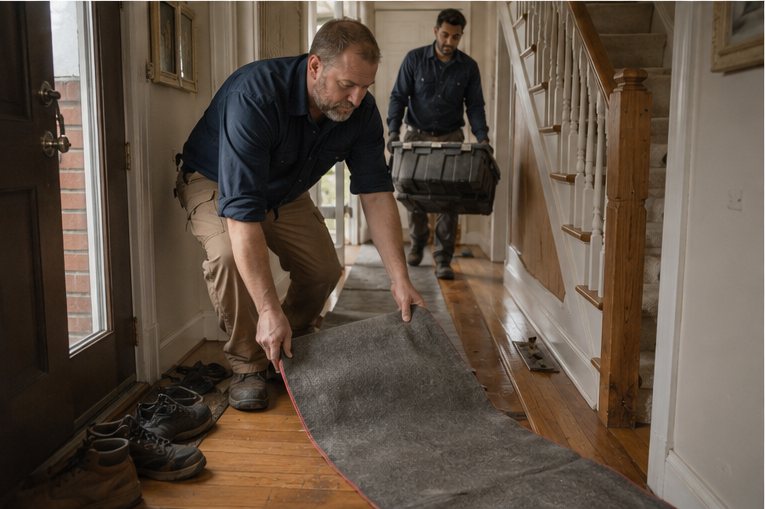
Floor coverings on the route, dust containment at the opening, and a clear working path. Setup takes longer than people expect, and it is why the house stays clean.
Complete approved preparation
Sealing at penetrations, top plates, the hatch and any dropped ceilings. Baffles installed at the eaves where required.
Install insulation evenly
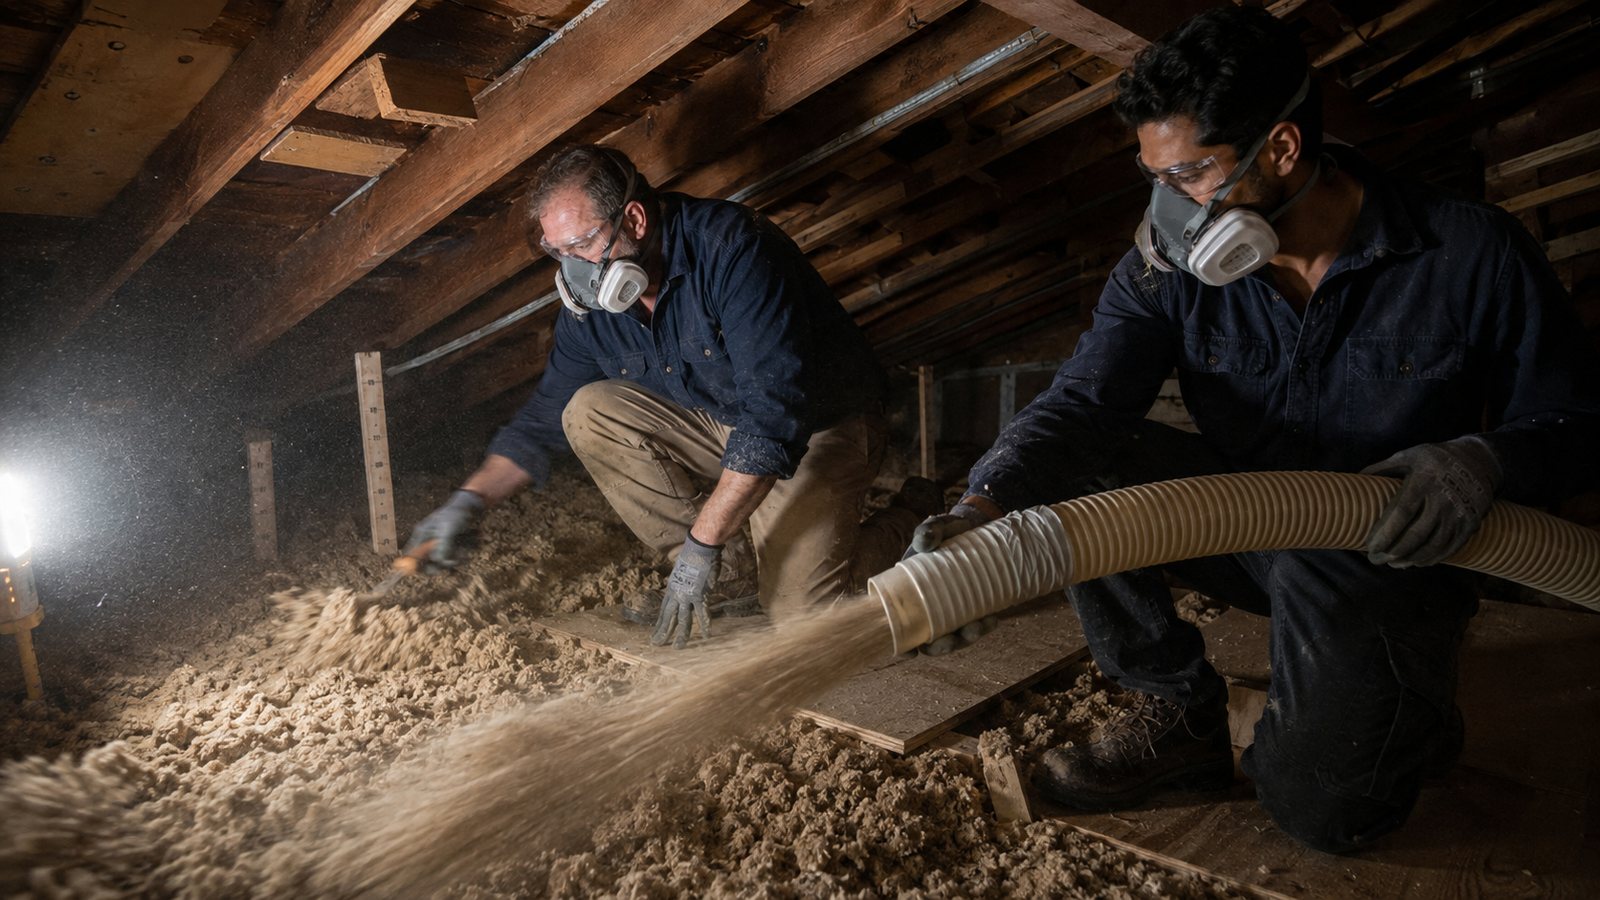
Depth markers set, material distributed to a consistent depth, and coverage carried out to the exterior walls without blocking ventilation.
Photograph completed work
The same views as the before photographs, so you can compare rather than take our word for it.
Provide homeowner handoff notes
What was done, what was deliberately left alone, what to watch over the coming winter, and who to call about anything referred.
An attic quote written from the hatch is an estimate of what is visible from the hatch. Clearance, framing, previous work and hidden conditions all change what is reachable. Our scope names the assumptions it is built on and tells you which ones would change the price if they turn out to be wrong.
On the day
What to expect while we are in your house.
- Arrival between 8:00 and 9:00 a.m. unless we have agreed otherwise. You will know who is coming.
- Floor protection laid on the full access route before any equipment comes in.
- A hose runs from the truck to the attic access, so an exterior door or window is usually held slightly open. We will discuss where.
- Containment at the hatch to keep material and dust in the attic where it belongs.
- Noise from the blowing machine outside, intermittently, for a few hours.
- The access route cleaned at the end of the day rather than the end of the job.
- A walk-through before we leave, with the photographs, so you see the finished condition without climbing anywhere.
Occupied houses stay liveable. If there are children, pets, a home office or a night-shift sleeper, tell us in advance and we will plan around it rather than apologise afterwards.
Attic questions homeowners ask
Ten questions we answer most weeks, with the qualifications left in.
Usually you do not, until someone looks. Depth is only part of it: insulation that is thin in places, compressed under storage, pushed aside by a previous trade or piled unevenly can measure fine in one spot and badly in another. The more useful signals are behavioural — a second floor that never catches up, snow melting in patches on the roof, frost on nails in the attic, or a ceiling that feels cold to the hand on a January night.
A short attic look answers this properly and is the reason the assessment exists.
Often, yes. Blown-in insulation can be installed over most existing materials provided the material is dry, undisturbed and not something that requires specialist handling. It is one of the reasons attic top-ups are comparatively affordable.
What we will not do is add depth over conditions that need attention first: active moisture, a bathroom fan discharging into the attic, damaged wiring, pest contamination, or material that may be vermiculite. Covering those over does not make them go away. It makes them harder to find.
Where the accessible conditions allow it, yes, and it is the part of the job that matters most. Once new insulation is in place, the ceiling penetrations underneath it are no longer reachable without moving the material again.
There are attics where meaningful sealing is not possible — very low clearance, sloped assemblies with no access, or existing material that cannot safely be disturbed. In those cases we say so, explain what that means for the expected result, and let you decide whether the top-up is still worth doing.
We stop and document it. Moisture in an attic is a signal, not a nuisance: staining on sheathing, frost on nails, damp insulation or a wet ceiling all point at something that is putting water where it should not be. It might be a roof leak, a disconnected exhaust duct, or warm humid air travelling up through an unsealed opening.
Insulating over an unresolved moisture condition traps the problem and usually accelerates it. You will get photographs, a written description of what we found, and a recommendation for who should look at it next.
We stop immediately and nobody disturbs it, including you. Vermiculite is a loose, pebble-like material that was used as insulation in some older houses, and some of it contains asbestos. It cannot be identified reliably by eye.
The correct next step is testing by a qualified party, followed by the handling procedure appropriate to the result. We do not remove it, we do not work around it, and we do not insulate over it.
Sometimes it contributes to a real improvement. It is not a reliable fix on its own, and anyone who promises otherwise is guessing.
Ice dams form when parts of the roof deck are warm enough to melt snow and the eaves are cold enough to refreeze it. Heat reaching the deck can come from air leakage, from insufficient or uneven insulation, from blocked ventilation, from ductwork or recessed lights, or from the sun on a mild afternoon. Roof geometry, valleys, dormers and the previous roof installation all play a part. A responsible attic scope addresses the contributors it can reach and is honest about the ones it cannot.
Some dust is unavoidable, but the amount is largely a function of preparation rather than luck. We cover floors and stair runs on the access route, seal the work area at the hatch, use dust containment around the opening, and clean the route at the end of every day rather than at the end of the job.
You should expect a fine film in the immediate vicinity of the access point and essentially nothing elsewhere. If the attic contains material we would rather not disturb, that changes the plan before it changes your house.
A straightforward attic with good access, ordinary preparation and a top-up is usually one day. Add difficult access, extensive sealing, baffle installation in a long roof, a hatch rebuild, or a house where the crew has to work in short stints because of clearance, and it becomes two.
The honest answer is that the preparation determines the duration and the preparation cannot be fully known until someone is in the attic. Our scope will give you a range and tell you what would push it to the longer end.
Possibly, and we are not the ones who decide. Programs, funding levels, eligible measures and required sequences change, sometimes at short notice. Some pathways require a pre-retrofit home energy assessment before any work begins, which means the order in which you do things can affect eligibility.
What we will do is tell you what we know, point you to the official current sources, and avoid scheduling work in a way that would obviously compromise a pathway you are pursuing. What we will not do is promise you a rebate.
It depends on what you are trying to achieve. If you are pursuing an incentive program that requires one, then the timing matters a great deal and you should arrange it before work starts. If you simply want a warmer second floor, an evaluation is optional.
Latchline is not an energy advisor and does not conduct official EnerGuide evaluations. A contractor's diagnostic observations and a registered energy advisor's evaluation are different things with different purposes, and we are careful not to blur them.
Start with the attic, or start with a phone call.
The Scope Planner will tell you whether the attic is the right first area based on what you have observed. The fifteen-minute Fit Check is free either way.